当サービスでは、空のGoogleサイトをまずお客様自身で作成し、その後に当社と共有していただく必要があります。ここでは、その方法の流れを解説します。
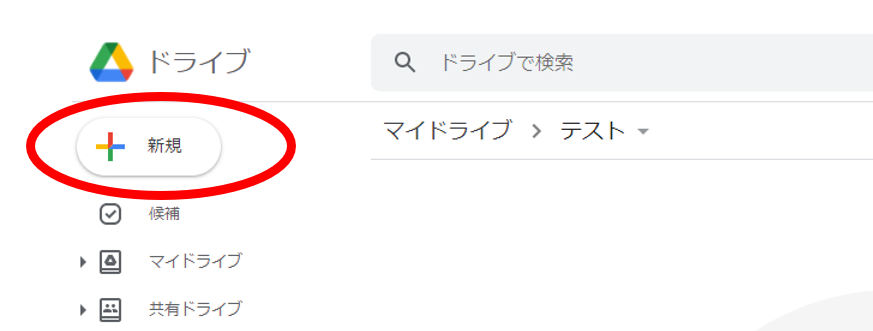
1 Googleドライブにアクセス
https://drive.google.com/drive/
上記にGoogle Workspace(旧G Suite)アカウントでアクセスします。なお、グーグルドライブのどのフォルダ内に置くかは、後で変更しても問題ないので、ひとまずグーグルドライブを開いた最上層で作ってみてください。
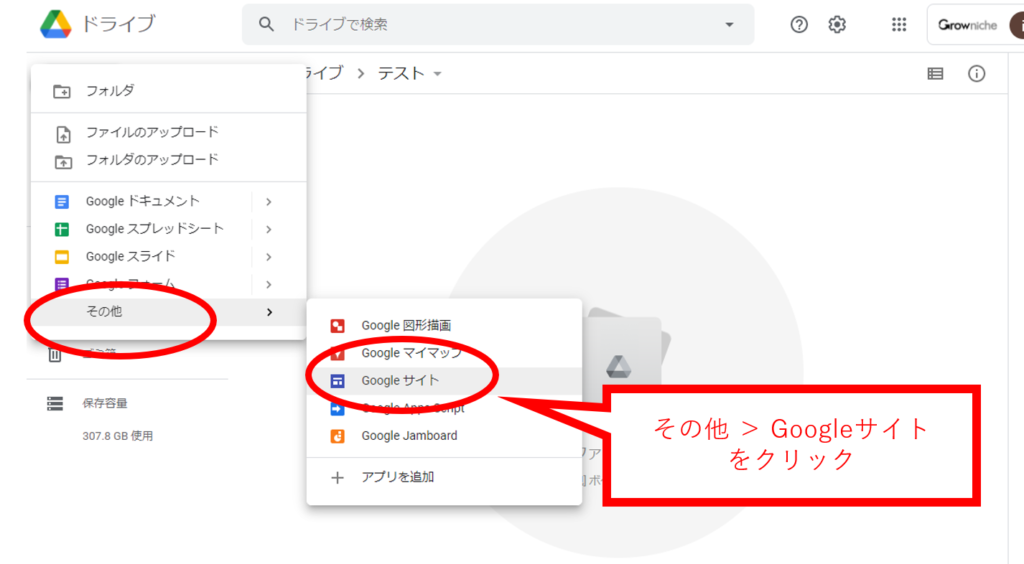
2 新規ボタンをクリックし、Googleサイトを選択
▼
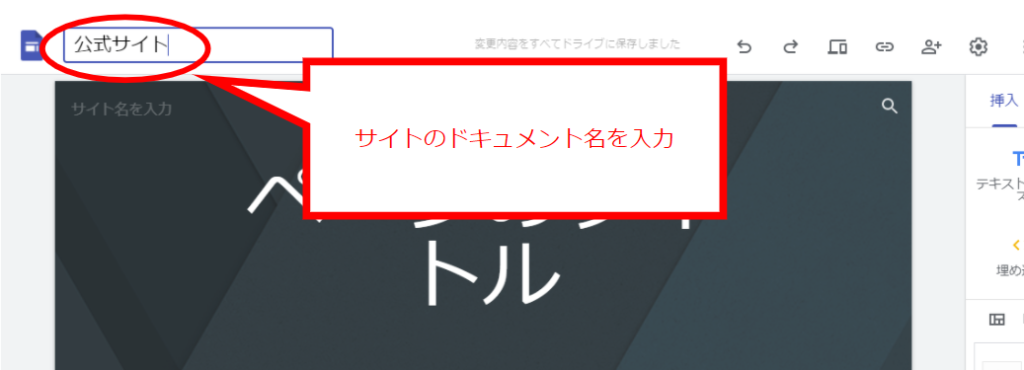
3 Googleサイトのドキュメント名を設定
ドキュメント名を付けると、公開や共有ができるようになります。
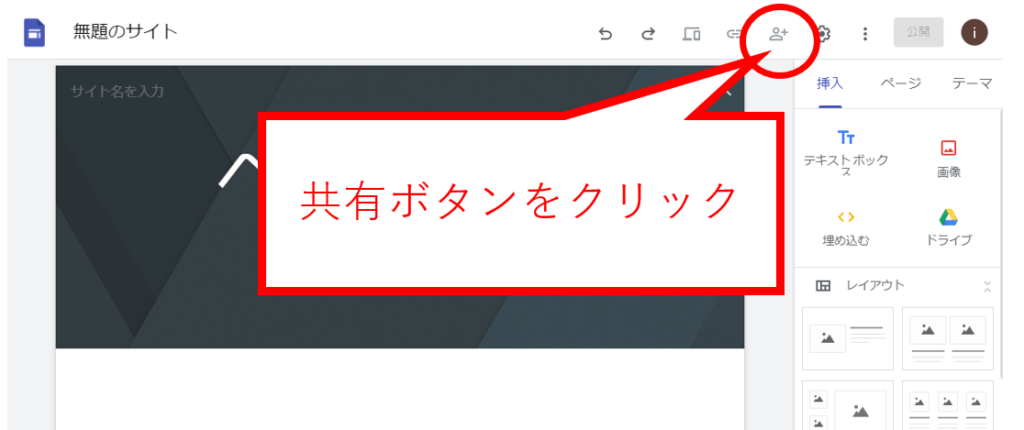
4 共有を設定します
Googleサイトが開かれると共有ボタン![]() が右上にありますので、そちらから共有を設定します。
が右上にありますので、そちらから共有を設定します。
▼
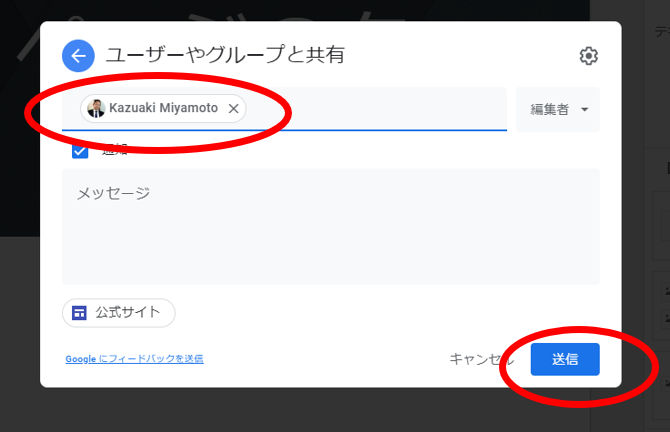
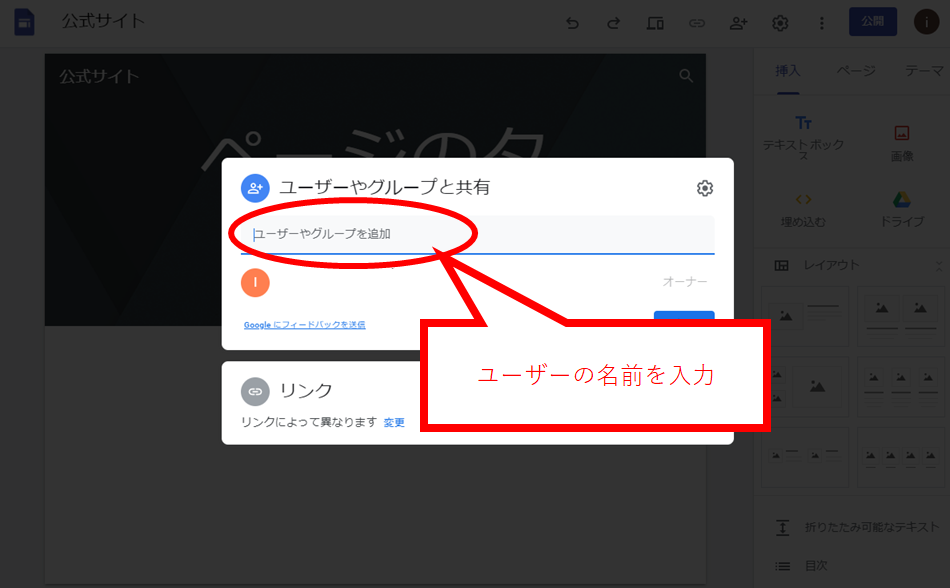
共有するボックスが出てくるの共有したい相手のGoogleアカウントの名前を入力します。
例:miyamoto
▼
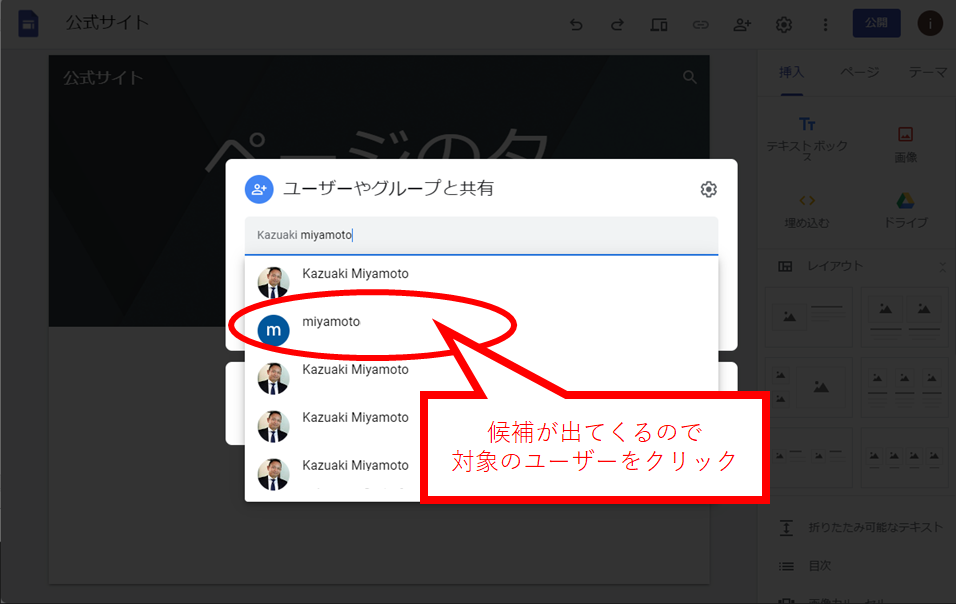
名前を入力すると候補がでてきます。(メールのやり取りがある相手だと出やすいです)候補の中に対象のユーザーがでてきたらクリックします。
▼
下の画像のように、共有相手が入力されたら、「送信」を行います。